
You can create and edit EXIF and IPTC data using the command line. Using the command line, you can work with batch files or single files.
Each tag has a type. The value of a tag depends on its type. For example, if a tag is the string type, then it contains a string, but if a tag is the numeral data type, then it may contain only a number. There are also tags which have the ordinal type which may take only predetermined values.
After you write the value of a specific parameter, then execute the appropriate command for the corresponding tag from the command line (including the path to the folder with images or the path to the specific file), the new value will be written in the image.
The command line format for batch editing:
exifpilot.exe PathToFolderWithImages TagName NewValueOfTag
If you want change only one file, you must provide the path to the specific graphic file.
Here you can find the list of tags and their values…
How to create and edit EXIF and IPTC data of various types is explained below.
String Type
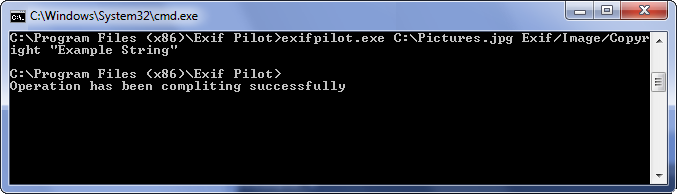
String type tags can contain strings composed of any symbols. For example, if you want to write in the Copyright field the string “Example string”, execute the following from the command line:
exifpilot.exe c:\Pictures.jpg Exif/Image/Copyright “Example string”
Numeral Type
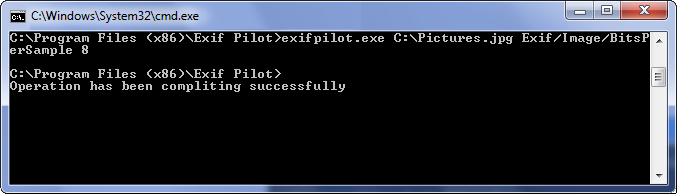
Numeral type tags can contain only unsigned integers. For example, if you want to change the BitsPerSimple field on number 8, execute the following from the command line:
exifpilot.exe c:\Pictures.jpg Exif/Image/BitsPerSample 8
Fractional Type (format a/b)
Fractional type tags can contain only fractional numbers in the form a/b. For example, if you want to change the FNumber field on number 4.8, execute the following from the command line:
exifpilot.exe c:\Pictures.jpg Exif/Photo/FNumber 48/10
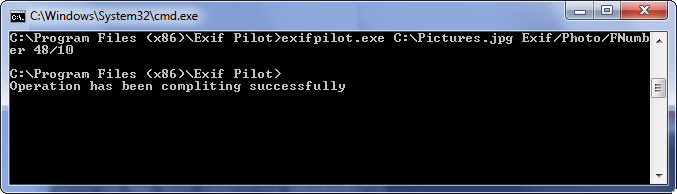
Note: Fractional type means that the parameter value must be in a/b format. If you want to set a new value of 4.8, you need to convert it from decimal format. For example, 4.8 = 48/10 or 0.3 = 3/10.
Ordinal Type
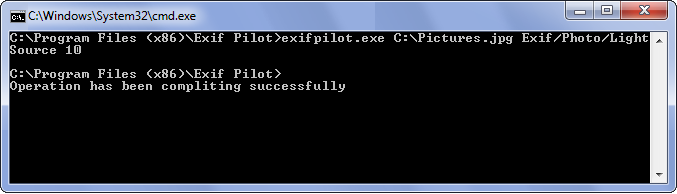
Ordinal type tags can contain only predetermined values. For example, if you want to change the LightSource field on Cloudy weather, first find here the number that corresponds to the Cloudy weather value, which is 10. Then, execute the following from the command line:
exifpilot.exe c:\Pictures.jpg Exif/Photo/LightSource 10
Note: You may combine edits in a single one command. List edit tags separated by commas. For example,
exifpilot.exe c:\Pictures.jpg Exif/Image/Copyright “My Copyright”, Exif/Photo/ExposureTime 1/8, Exif/Image/Compression 5

Other Commands
You may write several commands to one text file. For example, in a file named example.txt, you might include these commands:
c:\Pictures\image.jpg Exif/Image/Compression 2
c:\Pictures\image.jpg Exif/Image/Model Unknown
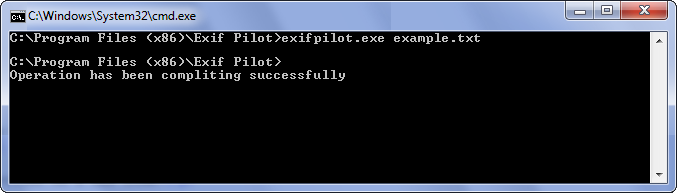
Important: Each command in the text file must be written on a new line!
When you type this on the command line:
exifpilot.exe example.txt
both commands in the text file will be executed.
Export to Xml
You can export EXIF and IPTC info to XML files using the command “ExportXML”. The resulting XML files will be located in the source images directory. The XML files will have the same names as the source images, but their extensions will be .xml.
Execute the following from the command line:
exifpilot.exe c:\Pictures.jpg ExportXML
Export to MS Excel
You can export EXIF and IPTC info to MS Excel files using the command “ExportExcel”. The resulting MS Excel files will be located in the source images directory. The MS Excel files will have the same names as the source images, but their extensions will be .xls.
Execute the following from the command line:
exifpilot.exe c:\Pictures.jpg ExportExcel
Export to CSV
You can export EXIF and IPTC info to CSV files using the command “ExportCSV”. The resulting CSV files will be located in the source images directory. The CSV files will have the same names as the source images, but their extensions will be .txt.
Execute the following from the command line:
exifpilot.exe c:\Pictures.jpg ExportCSV
Import from XML
You can import EXIF and IPTC info in images from XML files using the command “ImportXML”. Specify the path to the source XML file to be imported. For example,
exifpilot.exe c:\Pictures.jpg ImportXML c:\Pictures\img.Xml
Import from MS Excel
You can import EXIF and IPTC info in images from MS Excel files using the command “ImportExcel”. Specify the path to the source MS Excel file to be imported. For example,
exifpilot.exe c:\Pictures.jpg ImportExcel c:\Pictures\img.xls
Import from CSV
You can import EXIF and IPTC info in images from CSV files using the command “ImportCSV”. Specify the path to the source CSV file to be imported. For example,
exifpilot.exe c:\Pictures.jpg ImportCSV c:\Pictures\img.txt
Start up folder for program
You can start Exif Pilot with different folders. Specify the path to the source directory to be read. For example,
exifpilot.exe StartUpFolder “c:\Pictures\My Photo”
See also: List of tags Exif Pilot works with…