Home Download Pricing FAQ Manual Tutorials Known issues News
To ensure seamless integration and functionality of your Virtual Printer Driver SDK, thorough testing is essential. While various applications can be used for testing, Microsoft Word and Notepad are recommended due to their widespread use and compatibility. Here’s a step-by-step guide to testing printing in different formats, including custom paper sizes:
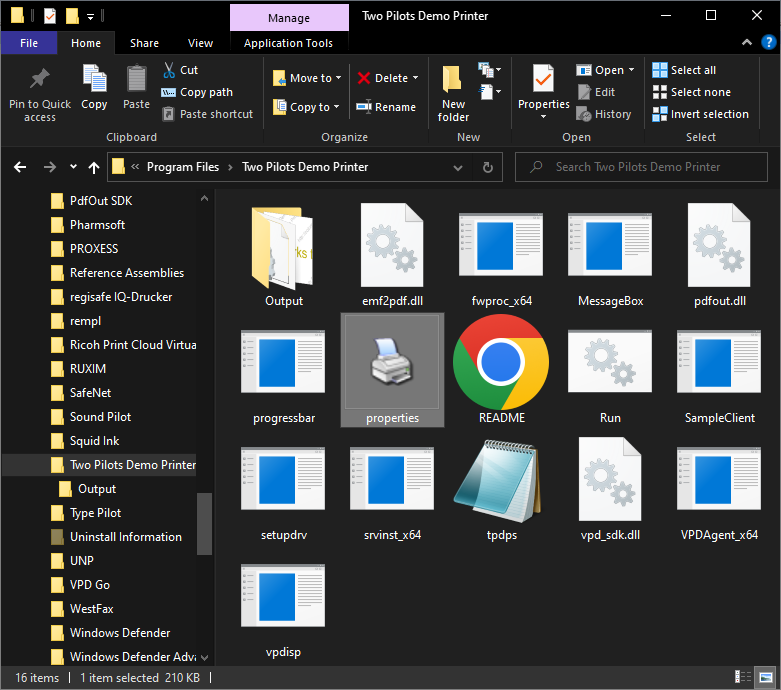
1. Open Program Properties:
Run the program properties.exe to access the configuration settings for the virtual printer.
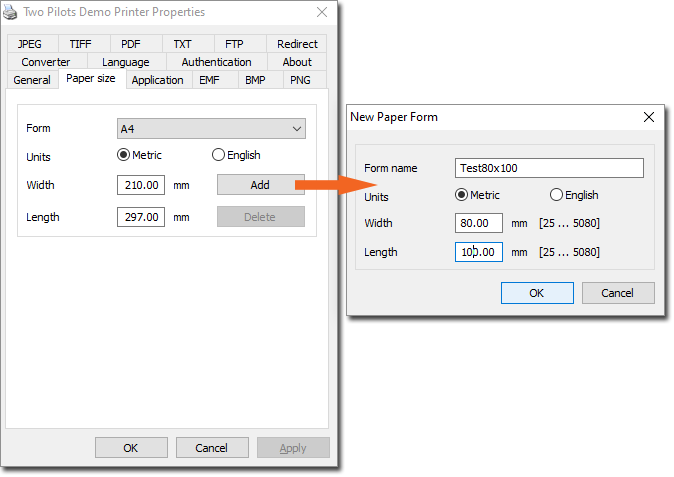
2. Add Custom Paper Size:
Within the program properties, add the desired custom paper size, for example 80×100, and assign it a custom name.
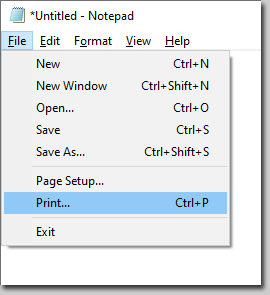
3. Select Virtual Printer in Notepad:
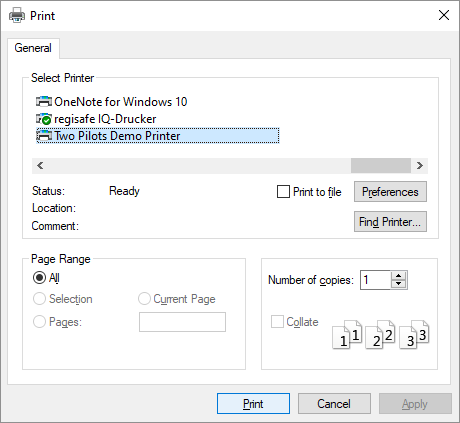
Open Notepad and create a document. Click on File -> Print…
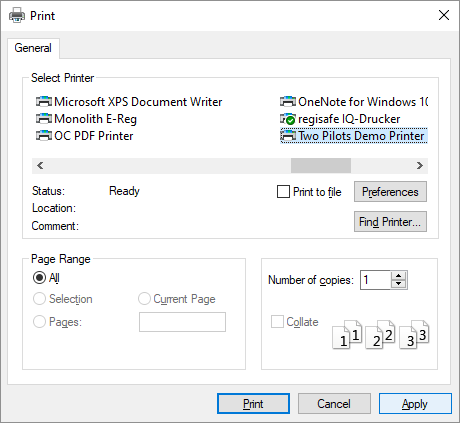
And choose “Two Pilots Demo Printer.” Click the Apply button to set the virtual printer.
4. Page Setup in Notepad:
In the Notepad menu, select File -> Page Setup…
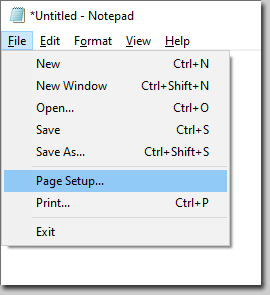
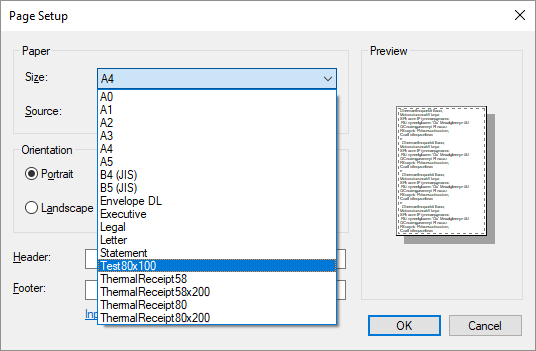
Choose the custom paper size you added earlier by selecting its name. This ensures that the virtual printer recognizes and applies the custom paper size.
5. Print the Document:
Proceed to print the document using the virtual printer. This step finalizes the printing process with the specified custom paper size.
6. Check Prepared Files:
The document will be printed to the virtual printer:
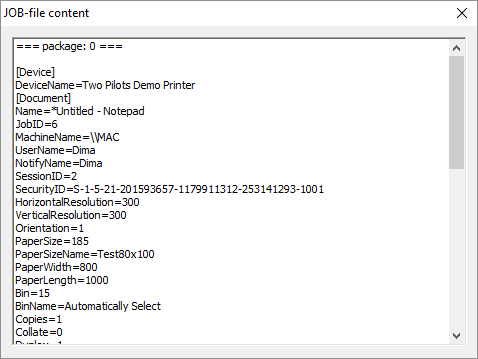
After printing, verify that the virtual printer has prepared files tailored to the required paper size. Examine these files to confirm that the printing process successfully accommodated the custom dimensions.
By following these steps, you can systematically test your Virtual Printer Driver SDK, ensuring its compatibility with different paper sizes, including custom configurations. Microsoft Word and Notepad serve as ideal testing platforms due to their ubiquity and reliable printing functionalities. This comprehensive testing approach helps guarantee the robustness and versatility of your virtual printer solution for developers.
Home Download Pricing FAQ Manual Tutorials Known issues News
